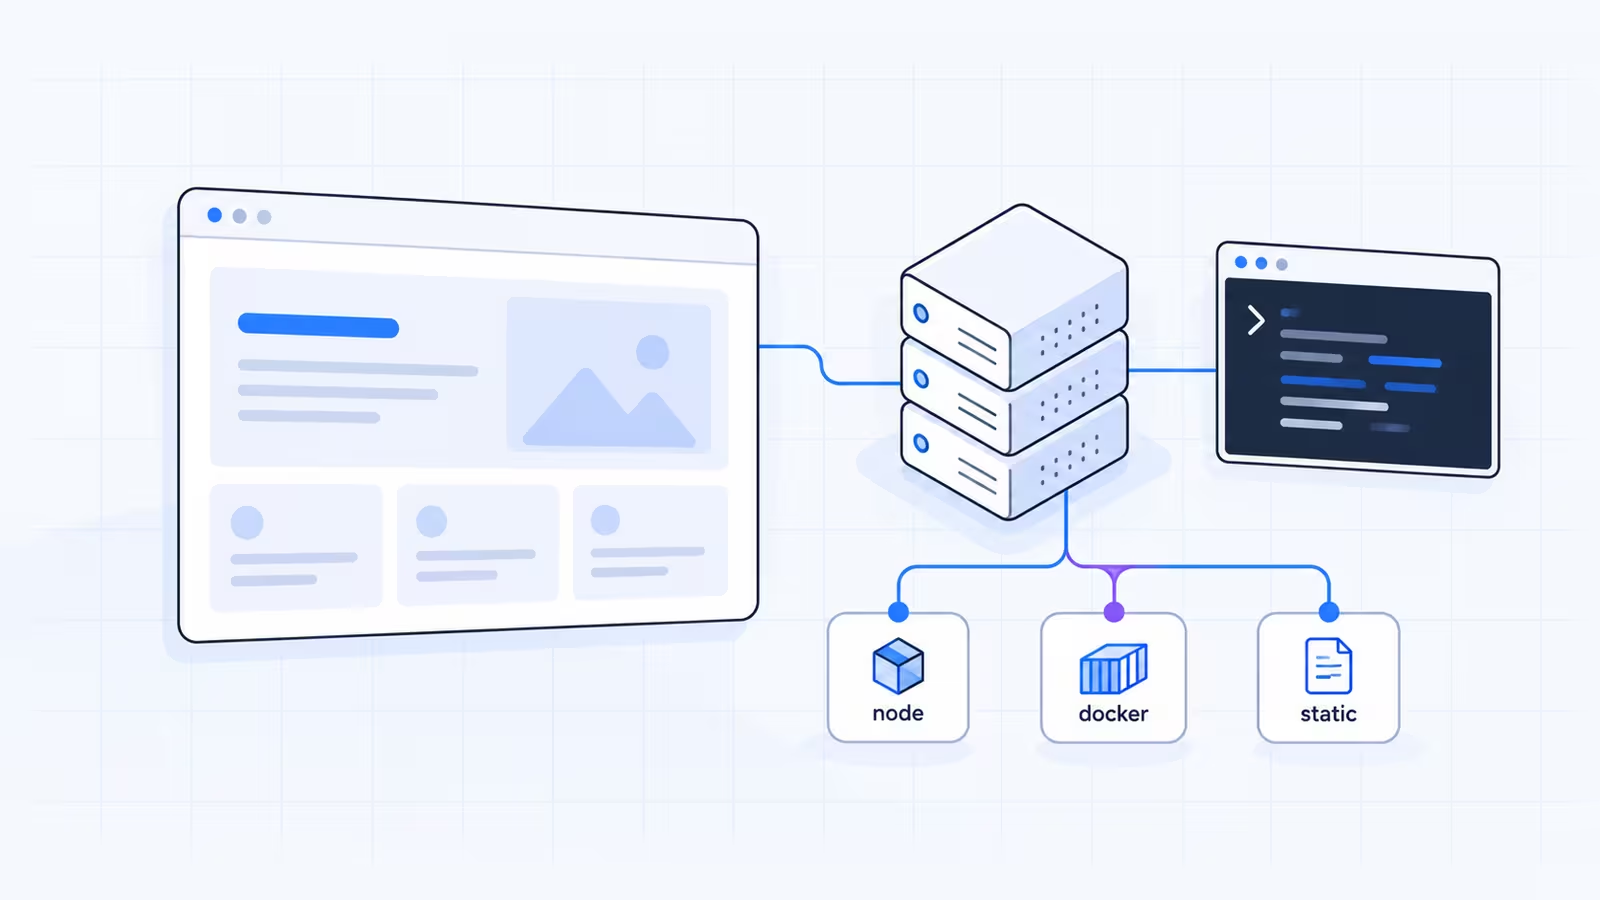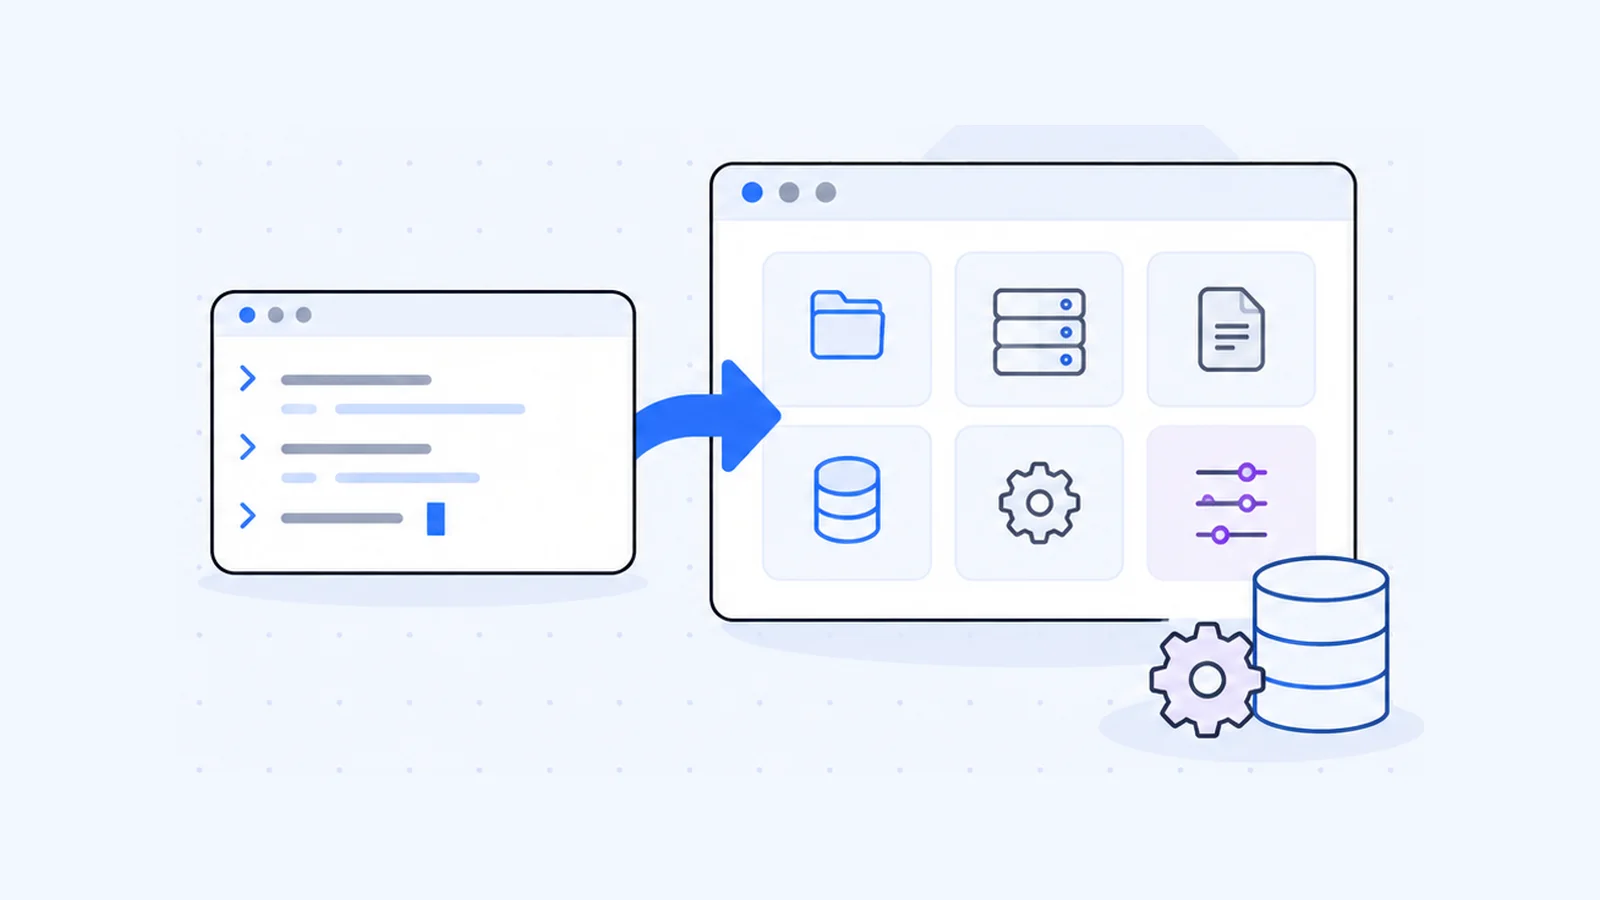


To deploy Laravel on cPanel shared hosting, put the project outside public_html, run composer install over SSH, and set up the web server so it serves only Laravel's public folder. Then create the .env file, generate the app key, run migrations, cache the config, and add one cron job for the scheduler. This guide covers each step for Laravel 13, with the commands taken from the Laravel and Composer documentation.
Key takeaways
- Laravel 13 needs PHP 8.3 or newer and a short list of extensions. Pick the PHP version for the domain in cPanel before you upload anything.
- Only the
publicfolder should be reachable from the web. Laravel's docs warn that serving the project root "will expose many sensitive configuration files to the public Internet." - Use Git Version Control and Terminal in cPanel to clone the code and run
composer install --no-dev --optimize-autoloaderon the server. - One cron entry runs the whole scheduler. The same entry can drain the queue with
queue:work --stop-when-empty. The queues section below explains the trade-offs. - Most launch errors come from a missing
APP_KEY, a wrong document root, or folders Laravel can't write to.
Can you deploy Laravel on shared hosting?
Yes, if the host gives you a PHP version that meets Laravel's minimum, SSH or cPanel's Terminal for Composer and Artisan, and cron jobs. Without a command line you can still upload files. You can't run migrations or composer install on the server, though, and every update gets harder.
Shared hosting has no process manager. Laravel's queue docs say that "in production, you need a way to keep your queue:work processes running" and recommend Supervisor (Laravel docs: Queues). On cPanel, cron takes that job, and it works for light queues. The queues section has the details.
Step 1: Check the PHP version and extensions
Laravel 13's support table lists PHP 8.3 to 8.5 (Laravel release notes). The deployment guide lists the minimum version and the extensions your server needs (Laravel docs: Deployment):
| Requirement | Laravel 13 |
|---|---|
| PHP | 8.3 or newer |
| Extensions | Ctype, cURL, DOM, Fileinfo, Filter, Hash, Mbstring, OpenSSL, PCRE, PDO, Session, Tokenizer, XML |
Set the version for your domain in cPanel » Software » MultiPHP Manager. Tick the domain, choose the version from the PHP Version menu and click Apply (cPanel docs: MultiPHP Manager). If the version you need isn't in the list, cPanel's docs say it isn't installed or your account can't use it. Ask your host.
The command line can run a different PHP binary from your website, so check it as well. Open cPanel » Advanced » Terminal and run:
php -v
php -m
php -v prints the version and php -m lists the loaded modules (PHP manual: command line options). Compare the list with the table above. If the CLI reports an older PHP than your site uses, ask your host which PHP binary to call in commands and cron jobs.
On WaseerHost plans you choose PHP 8.0 to 8.5 per site in cPanel, which covers Laravel 13's 8.3 minimum. The PHP hosting page has the details.
Step 2: Get the code onto the server with Git
Keep the project in its own folder in your home directory, for example /home/USER/laravel-app, and not inside public_html.
Clone with cPanel's Git Version Control
- Open cPanel » Files » Git Version Control and click Create.
- Leave Clone a Repository turned on and paste your repository's clone URL.
- In Repository Path, enter the folder, such as
laravel-app. The directory must be empty unless you're adding an existing repository. - Enter a display name and click Create.
According to cPanel's documentation, private repositories need extra SSH setup first, and the clone URL "cannot contain a username-and-password pair" (cPanel docs: Git Version Control). To pull new commits later, go to Manage » Pull or Deploy » Update from Remote (cPanel docs: Guide to Git deployment).
cPanel's own channel has a short walkthrough of this screen:
If you prefer the command line and your account has shell access, you can run git clone in Terminal. cPanel's docs state that without shell access you can only create, clone, delete and view repositories.
Install dependencies with Composer
In Terminal, move into the project and install the production dependencies only:
cd ~/laravel-app
composer install --no-dev --optimize-autoloader
Composer's documentation explains both flags. --no-dev skips "packages listed in require-dev", and --optimize-autoloader converts PSR-0/4 autoloading to a classmap, which Composer calls "recommended especially for production" (Composer CLI docs). If the shell can't find composer, ask your host whether your account has it.
Build the front-end assets on your own computer with npm run build (Laravel docs: Vite). Then commit the public/build folder or upload it. That way the server doesn't need Node.js for a Laravel site.
Step 3: Point the domain's document root at /public
Laravel's deployment guide says your web server must send every request to public/index.php, and that "you should never attempt to move the index.php file to your project's root."
Option A: set the document root to the public folder
- Open cPanel » Domains » Domains.
- Click Manage next to the domain.
- Under New document root, enter the path relative to your home directory, such as
laravel-app/public, and click Update.
cPanel's Manage the Domain docs set two limits. "You cannot change the document root directory for the Main Domain," and the same applies to domains that share the Main Domain's directory. cPanel's Create a New Domain docs add that a document root can't sit outside public_html/. On servers that enforce that rule, Option A works only if your host sets it up for you.
Option B: keep public_html and adjust index.php
When the document root has to stay at public_html, as it usually does for a Main Domain, keep the project in ~/laravel-app and copy the contents of laravel-app/public into public_html. Then edit the three paths in public_html/index.php so they point into the project. The stock file from the Laravel skeleton uses __DIR__.'/../'. Change it like this:
if (file_exists($maintenance = __DIR__.'/../laravel-app/storage/framework/maintenance.php')) {
    require $maintenance;
}

require __DIR__.'/../laravel-app/vendor/autoload.php';

$app = require_once __DIR__.'/../laravel-app/bootstrap/app.php';
The project still lives outside the web root, so nobody can browse to .env or your source code. The downside is that you must copy public again after every deploy that changes it, including public/build.
Step 4: Create .env and generate the app key
Laravel's configuration docs describe .env as the place for values that differ between your computer and production, and say it "should not be committed to your application's source control" (Laravel docs: Configuration). The cloned repo won't contain one. Create it from the example file and generate a key:
cd ~/laravel-app
cp .env.example .env
php artisan key:generate
key:generate uses "PHP's secure random bytes generator" to set APP_KEY (Laravel docs: Encryption). Run it once per environment. If you change the key later, Laravel can no longer read encrypted data or existing sessions.
Next, create a database in cPanel » Databases » Database Wizard, which older cPanel versions call MySQL Database Wizard. Name the database, create a user, then grant privileges (cPanel docs). Edit .env in File Manager or a terminal editor:
APP_ENV=production
APP_DEBUG=false
APP_URL=https://example.com

DB_CONNECTION=mysql
DB_HOST=127.0.0.1
DB_PORT=3306
DB_DATABASE=cpaneluser_laravel
DB_USERNAME=cpaneluser_dbuser
DB_PASSWORD=your-password
The DB_* lines follow the MySQL example in Laravel's installation docs. The skeleton defaults to SQLite, so you must change DB_CONNECTION. cPanel usually puts your account name in front of database and user names, so copy them exactly as the wizard shows them. Keep APP_DEBUG=false. The deployment guide warns that true in production risks "exposing sensitive configuration values to your application's end users."
Step 5: Run the migrations
In production, Artisan asks you to confirm migrations because some of them delete data. The --force flag skips the prompt (Laravel docs: Migrations):
php artisan migrate --forceNew Laravel apps keep sessions, cache and queued jobs in the database by default (SESSION_DRIVER=database, CACHE_STORE=database and QUEUE_CONNECTION=database in .env.example), so this step creates those tables too.
Step 6: Cache config, routes and views
One Laravel command caches configuration, events, routes and views (Laravel docs: Deployment):
php artisan optimizeYou can also run the steps one at a time:
php artisan config:cache
php artisan route:cache
php artisan view:cache
Watch for one side effect. Once config is cached, "the .env file will not be loaded." Call env() only inside config/ files, and run php artisan config:cache again each time you edit .env. To clear every cache, use php artisan optimize:clear.
Step 7: Fix storage permissions and link storage
Laravel "will need to write to the bootstrap/cache and storage directories," so the user that runs PHP for the web server needs write access to both. Check who owns them:
ls -ld storage bootstrap/cacheDon't use 777. It lets every account on the server write to those folders. If you don't know which user PHP runs as on your plan, ask your host before you change ownership.
To serve uploaded files on the public disk over the web, create the symlink (Laravel docs: File Storage):
php artisan storage:linkWith Option B, storage:link would create the link inside laravel-app/public, which isn't your document root. Laravel lets you define links in config/filesystems.php, so point one at public_html and then run storage:link:
'links' => [
    '/home/USER/public_html/storage' => storage_path('app/public'),
],
Step 8: Add the scheduler cron job
Laravel's scheduler needs one cron entry that runs every minute. This is the line from the scheduling docs:
* * * * * cd /path-to-your-project && php artisan schedule:run >> /dev/null 2>&1In cPanel » Advanced » Cron Jobs, enter * in the Minute, Hour, Day, Month and Weekday boxes. Paste only the command part, with your real path, into Command:
cd /home/USER/laravel-app && php artisan schedule:run >> /dev/null 2>&1Click Add New Cron Job (cPanel docs: Cron Jobs). cPanel's docs use the same /dev/null 2>&1 ending to stop the email a cron job would otherwise send, so you won't get a message every minute. If php -v in Step 1 showed an older PHP than your site uses, replace php here with the full path to the right PHP binary.
Step 9: Run queues on shared hosting
On a VPS, Supervisor keeps php artisan queue:work running. On cPanel, let the scheduler start a worker that exits once the queue is empty. Laravel's docs say --stop-when-empty tells the worker to "process all jobs and then exit gracefully" (Laravel docs: Queues). Add this to routes/console.php:
use Illuminate\Support\Facades\Schedule;

Schedule::command('queue:work --stop-when-empty')
    ->everyMinute()
    ->withoutOverlapping();
withoutOverlapping() stops a second worker from starting while the first one is still running. It stores the lock in your cache, and the default database store can hold it.
Compare the two setups before you rely on this one:
| Cron-driven worker | Always-on worker (VPS) |
|---|---|
| Jobs wait up to a minute before they start | Jobs start within seconds |
| A worker that runs long holds the lock and later runs skip | Supervisor restarts workers automatically |
| Fine for emails, notifications and small imports | Suits heavy or time-sensitive queues |
If your queue is busy enough that a one-minute delay matters, move to a VPS or dedicated server.
Common errors and how to fix them
500 error: "No application encryption key has been specified"
APP_KEY is empty. Run php artisan key:generate, then php artisan config:cache so the cached config includes the key. Laravel's MissingAppKeyException produces this message.
403 Forbidden or a list of files
The web server isn't reaching public/index.php. Go back to Step 3. With Option A the domain's document root should be laravel-app/public. With Option B, public_html must hold the copied index.php and .htaccess.
500 error after deploy with nothing on screen
With APP_DEBUG=false, Laravel shows no details. Read storage/logs/laravel.log, where Laravel's default log channels write. Then check cPanel » Metrics » Errors, which lists the 300 most recent web server errors (cPanel docs: Errors).
"Permission denied" writing to storage or bootstrap/cache
Laravel can't write its logs, cache or compiled views. Fix the ownership as in Step 7, then run php artisan optimize:clear.
Changes to .env have no effect
Laravel is reading the cached config. Run php artisan config:cache again.
Deploying updates
After the first launch, each release uses the same short routine:
cd ~/laravel-app
git pull
composer install --no-dev --optimize-autoloader
php artisan migrate --force
php artisan optimize
With Option B, copy any changed files from laravel-app/public into public_html afterwards.
Every WaseerHost plan uses cPanel with LiteSpeed. Laravel apps run in it, and you can select PHP up to 8.5 per site. See the Laravel hosting page for current plans.
Frequently asked questions
Yes. You need a PHP version that Laravel supports, command-line access for Composer and Artisan, and cron. Laravel 13 needs PHP 8.3 or newer. Cron can run your queues, but an always-on worker needs a server where you can run a process manager.

Written by
Web & AI Systems Lead
Web and AI Systems Lead at Wasevo, the company behind WaseerHost. He builds web applications and AI systems.