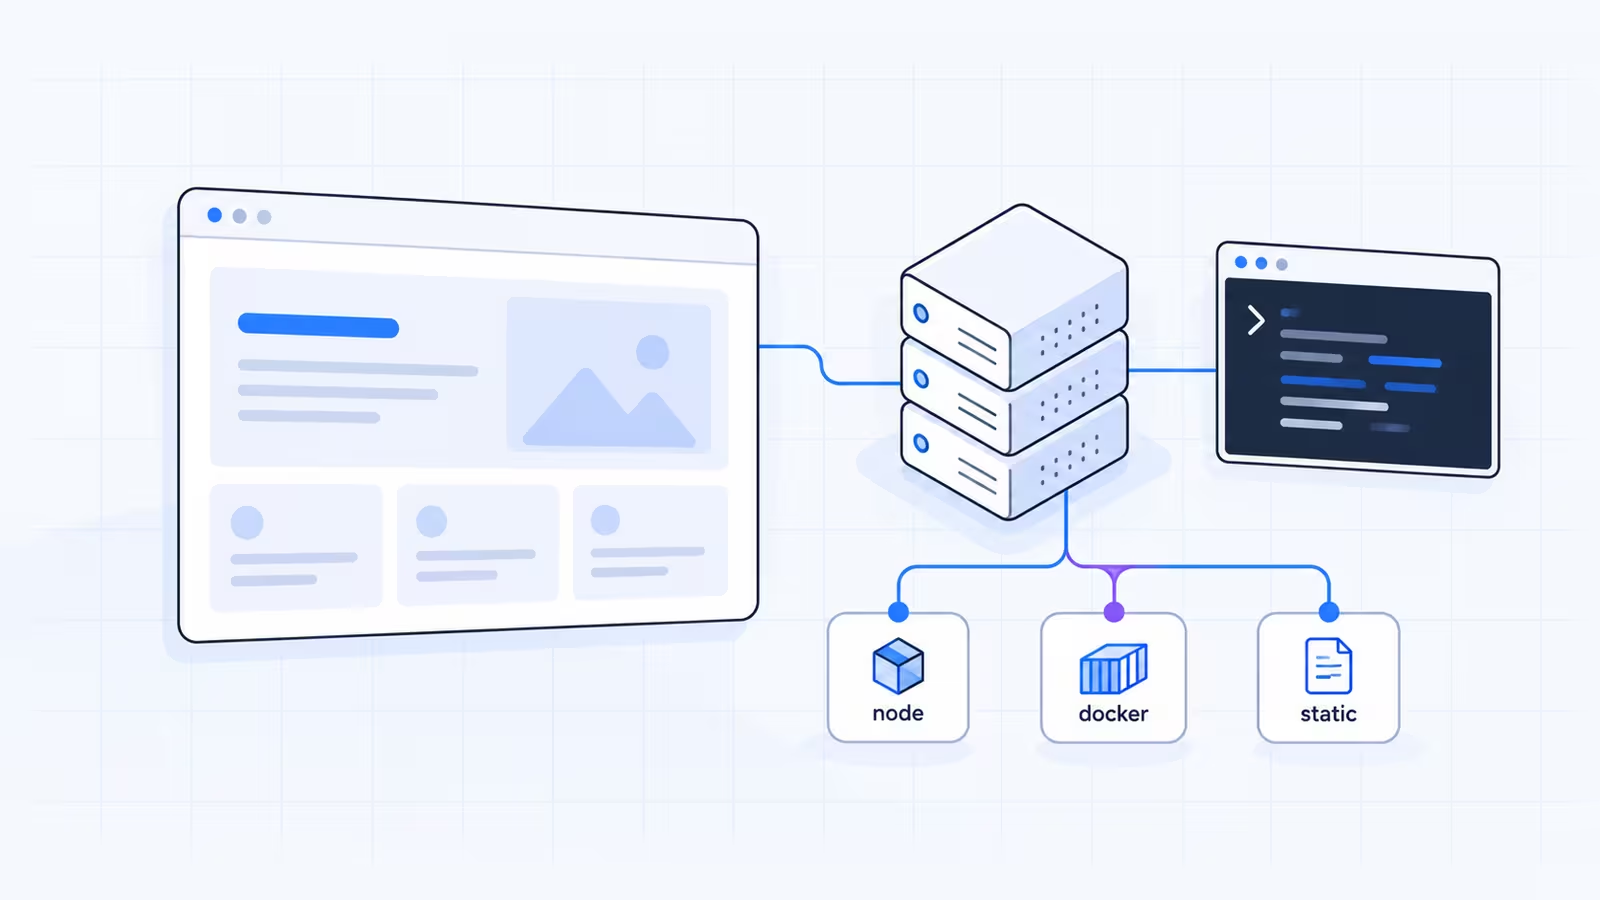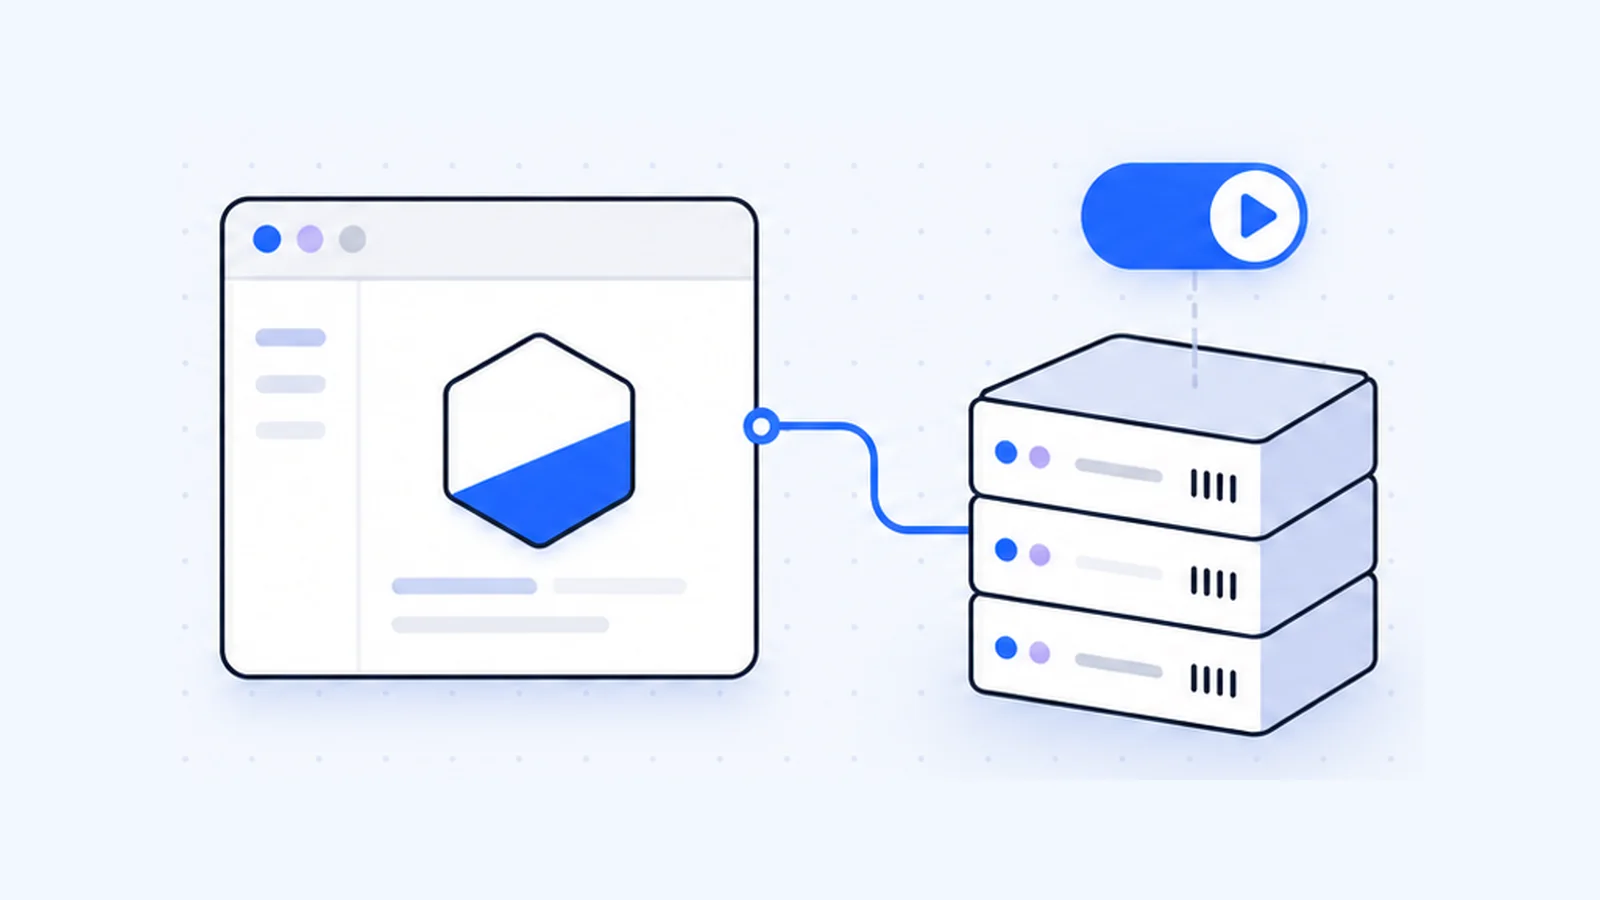


To host a Node.js app in cPanel, create it in the panel's Node.js app tool, choose a Node.js version, an application root, a URL and a startup file, then install dependencies with Run NPM Install. Phusion Passenger, running inside the web server, starts and stops the app for you. You don't run node app.js yourself or pick a port. This guide covers the setup step by step, Next.js with standalone output, where to find logs, and when a VPS fits better.
Key takeaways
- cPanel servers use one of two Node.js tools, CloudLinux's Setup Node.js App or cPanel's own Application Manager. Both run apps through Passenger, and the menu name depends on your host.
- Your startup file must be a CommonJS file. CloudLinux's docs say Passenger "cannot load ECMAScript modules," and give a one-line wrapper if your app uses
import. - Install dependencies with Run NPM Install, or over SSH after you activate the app's environment.
- After every change to code or variables, restart the app with the Restart button or by touching
tmp/restart.txt. - Next.js runs from the
server.jsfile thatoutput: 'standalone'creates.
How Node.js works on cPanel hosting
On a VPS you start Node yourself and keep it alive with a process manager. On cPanel hosting the web server does that job. CloudLinux's documentation says its Node.js Selector "uses mod_passenger to host Node.js." cPanel's Application Manager also deploys apps with the Phusion Passenger application server, which acts as a process manager and reverse proxy (CloudLinux docs: Node.js Selector; cPanel docs: Application Manager).
The tool you see depends on the server:
| CloudLinux Node.js Selector | cPanel Application Manager | |
|---|---|---|
| Where in cPanel | Software » Setup Node.js App | Software » Application Manager |
| Pick a Node.js version per app | Yes, from a drop-down | Uses the version your host installed |
| Install dependencies | Run NPM Install button | Enable Dependencies action |
| Environment variables | Add Variable | Add Variable (needs mod_env on the server) |
| Startup file | Any NAME.js you enter | app.js unless the host adds a config file |
Your host may label the menu differently or offer only one of the two. This guide follows the CloudLinux steps because that screen shows every setting in the panel. Where cPanel's tool works differently, use the table above.
The same apps run on LiteSpeed Web Server. LiteSpeed's docs say it "supports the Apache mod_passenger configuration generated through CloudLinux selectors" (LiteSpeed docs: CloudLinux).
Before you start: two things to check in your code
First, Passenger ignores your port setting. It hands your app its own socket. cPanel calls this reverse port binding, and LiteSpeed's docs say "any port specifications in the listen function are ignored." Leave your listen() call as it is, but don't depend on a fixed port.
Second, the startup file must be CommonJS. If Node throws ERR_REQUIRE_ESM on start, CloudLinux suggests a small wrapper file, app_wrapper.cjs, set as the startup file:
(() => import('app.js'))();A minimal startup file can look like the example in cPanel's Node.js install guide:
const http = require('http')
const hostname = '127.0.0.1';
const port = 3000;

const server = http.createServer((req, res) => {
  res.statusCode = 200;
  res.setHeader('Content-Type', 'text/plain');
  res.end('Hello World! NodeJS\n');
});

server.listen(port, hostname, () => {
  console.log(`Server running at http://${hostname}:${port}/`);
});
Step 1: Create the Node.js application
- In cPanel, open Software » Setup Node.js App and start a new application.
- Fill in the settings that CloudLinux's Node.js Selector UI docs describe:
- Node.js version. Pick the version your app needs. Next.js, for example, needs at least Node.js 20.9.
- Application mode. Choose Production or Development.
- Application root. Enter the folder that holds your code, relative to your home directory, such as
nodeapp. - Application URL. Enter the domain or subdomain, plus an optional path, where the app should answer.
- Application startup file. Enter the entry file, such as
app.jsorserver.js. - Passenger log file. This one is optional. Enter a path where Passenger should write the app's log.
- Save it. The app appears in the Web Applications list with its URI, root directory, mode and status.
CloudLinux's command-line tool takes the same settings when it creates an app (--app-root, --app-uri, --version, --app-mode, --startup-file), according to the CloudLinux CLI docs.
Step 2: Upload your code
Put your project files in the application root. You can do it in two ways:
- With Git, open cPanel » Files » Git Version Control, click Create, paste the clone URL, and set Repository Path to the application root (cPanel docs: Git Version Control).
- With File Manager, upload a zip of the project and extract it in the application root.
Leave your local node_modules folder behind. You'll install dependencies on the server in the next step.
Step 3: Install dependencies (npm install)
The shortest route is in the panel. Open the app with the pencil (edit) icon and click Run NPM Install. CloudLinux's docs say this installs "the package(s) described in the package.json file."
To install over SSH or in cPanel » Advanced » Terminal, CloudLinux says to "activate the Selector environment with the command shown by the panel," go to the application directory, and run npm install. The CLI docs give the format of the activation command:
source /home/USER/nodevenv/APP_ROOT/NODE_VERSION/bin/activate
cd ~/APP_ROOT
npm install
Copy the exact line from the panel instead of typing it, since it contains your username, app folder and Node.js version. After activation, CloudLinux notes, you "can use npm and node from a virtual environment without full paths."
If npm fails with an ENOMEM error, the server's memory limit for cPanel processes is too low. CloudLinux documents the fix as a WHM setting, so ask your host to raise it.
Step 4: Add environment variables
On the app's edit page, click Add Variable, enter a name and value, and save. Your code reads them from process.env:
const apiKey = process.env.API_KEY;Store API keys, database URLs and NODE_ENV here instead of committing a .env file to Git. cPanel's Application Manager has the same Add Variable button, but cPanel notes that your host "must install the ea-apache24-mod_env Apache module" before it works.
Step 5: Restart the app after every change
Passenger keeps the running copy of your app in memory, so new code or new variables apply only after a restart. You can restart in two ways:
- Click Restart in the Web Applications list or on the app's edit page.
- Create or touch
tmp/restart.txtinside the application root:
mkdir -p ~/nodeapp/tmp
touch ~/nodeapp/tmp/restart.txt
cPanel's docs say this file "directs mod_passenger to restart the application," and that you must touch it each time (cPanel docs). LiteSpeed documents the same tmp/restart.txt method.
Next.js hosting on cPanel (standalone output)
When Next.js runs as a Node.js server, every Next.js feature works (Next.js docs: Deploying). In cPanel, use standalone output. LiteSpeed's docs say that to run Next.js through the Node.js Selector you "first must compile the NextJS project as a standalone," which "will create a server.js script that you can use as a startup script."
1. Turn on standalone output
Add this to next.config.js (Next.js docs: output):
module.exports = {
  output: 'standalone',
}
2. Build and copy the static folders
Run the build, then copy public and .next/static into the standalone folder. The Next.js docs explain that the minimal server "does not copy the public or .next/static folders by default":
npm run build
cp -r public .next/standalone/ && cp -r .next/static .next/standalone/.next/
You can build on your own computer or in CI. If your app uses packages with native binaries, the Next.js docs show how to include them with outputFileTracingIncludes, using sharp as the example.
3. Upload and point the startup file at server.js
Upload the contents of .next/standalone to your application root, so server.js sits at its top level. Then set:
| Setting | Value |
|---|---|
| Node.js version | 20.9 or newer (Next.js minimum) |
| Application root | the folder holding server.js |
| Application URL | your domain or subdomain |
| Application startup file | server.js |
The standalone folder already contains the node_modules it needs. Next.js says it "can then be deployed on its own without installing node_modules." Skip Run NPM Install for this setup and click Restart.
To test the same bundle on your computer first, Next.js gives this command:
node .next/standalone/server.jsLogs and troubleshooting
Start with the log. The browser usually shows only a generic error page.
| Where | What you'll find |
|---|---|
stderr.log in the application root | The app's error output on LiteSpeed (LiteSpeed docs) |
| The Passenger log file path you set in Step 1 | Passenger's log for the app (CloudLinux Node.js Selector) |
logs/ inside the app folder | Node.js logs when you use cPanel's Application Manager |
console.log output on LiteSpeed | Add SetEnv LSNODE_CONSOLE_LOG console.log to .htaccess to write it to console.log in the app root |
Common problems:
- If Node throws
ERR_REQUIRE_ESMon start, your startup file is an ES module. Use theapp_wrapper.cjswrapper shown above. - If you see
Cannot find module ..., the dependencies aren't installed for this Node.js version. Click Run NPM Install, then restart. - If your changes don't show up, restart the app. Passenger is still running the old code.
- If Next.js pages load without styles or images, nobody copied the
publicand.next/staticfolders into the standalone build. - If cPanel has no Node.js menu, your host hasn't turned on a Node.js tool for your account. Ask which one they offer.
When to move your Node.js app to a VPS
cPanel hosting suits websites, APIs and Next.js sites that respond to requests. It fits less well when the app has to do work on its own schedule:
- Long-running workers and background jobs. Passenger manages the process for you. Passenger's configuration reference says it shuts down an idle process to save memory after
PassengerPoolIdleTime, which defaults to 300 seconds, and spawns processes when someone first opens the app (Passenger docs). Timers, queue consumers and cron-like loops inside your app can't count on staying up. - Heavy WebSocket use. LiteSpeed proxies WebSocket upgrades to apps that run through the Node.js Selector, so small real-time features can work. Busy chat, game or streaming servers that hold many open connections need more resources and tuning than a shared account provides.
- Custom ports, system packages or your own process manager. A shared account runs inside the host's limits. On CloudLinux servers, cPanel's resource usage page shows your account's CPU, memory and process limits and any times you hit them.
If your app needs any of these, a VPS or dedicated server gives you full control. For request-driven apps, WaseerHost runs Node.js apps in cPanel, including Next.js, on LiteSpeed. See Node.js hosting for current plans.
Frequently asked questions
Yes, if the host has installed a Node.js tool in cPanel, such as CloudLinux's Setup Node.js App or cPanel's Application Manager. Both run your app through Phusion Passenger. You don't get your own process manager, so the app should answer requests and not run as a long-lived worker.

Written by
Web & AI Systems Lead
Web and AI Systems Lead at Wasevo, the company behind WaseerHost. He builds web applications and AI systems.