

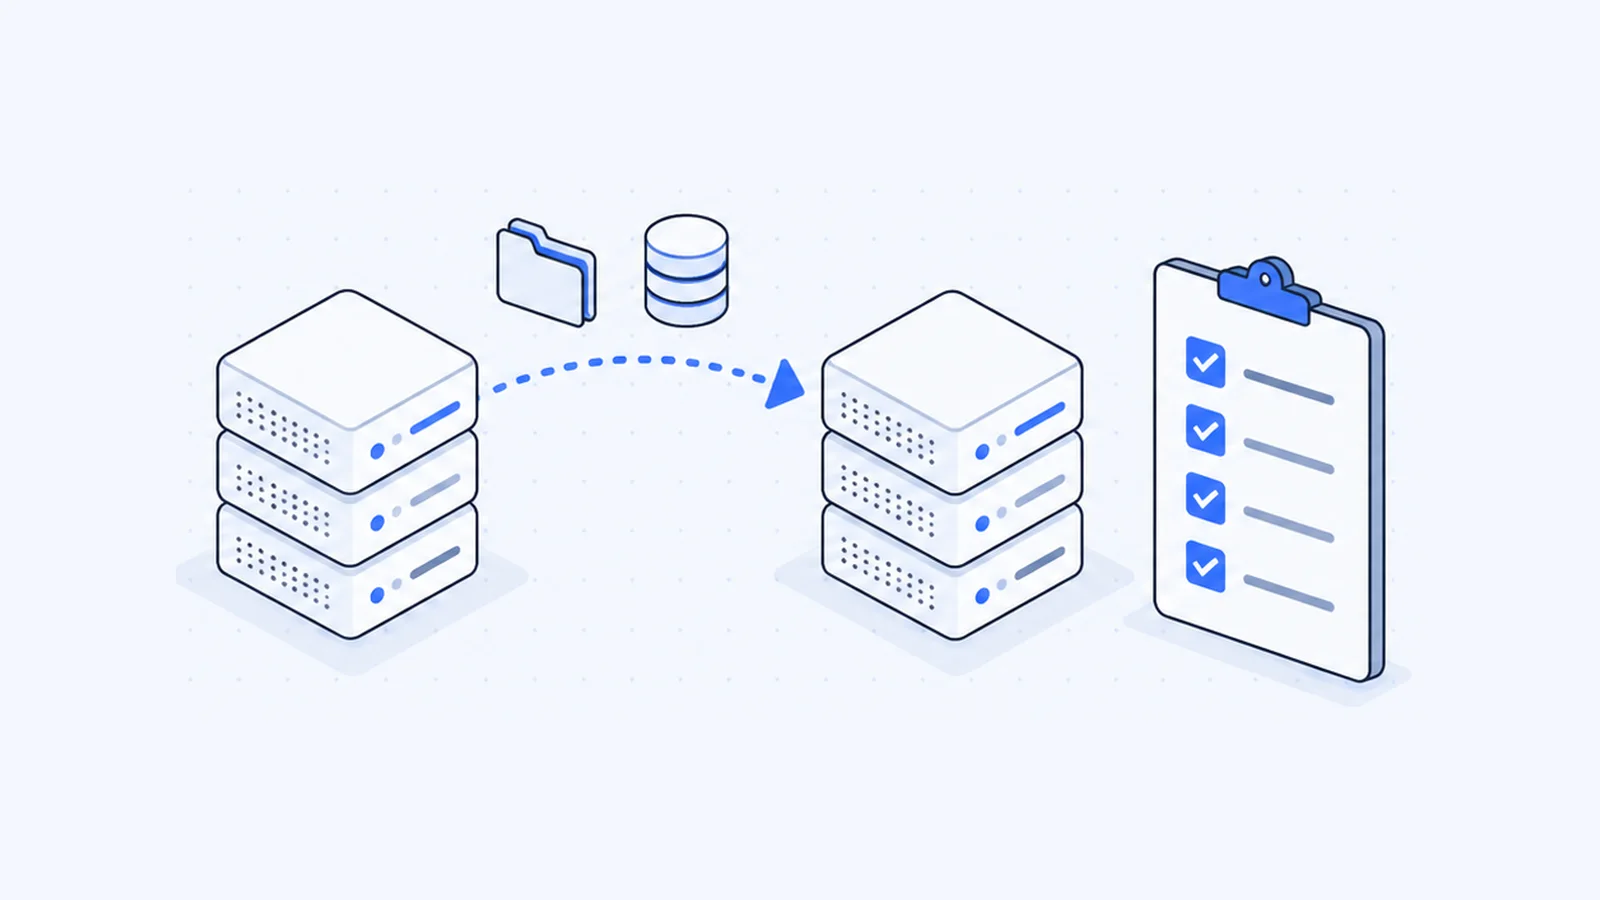


A good website migration checklist makes a host move uneventful. Back up everything, write down your DNS and email settings, and lower the TTL a week early. Then copy the site, test it on the new server before anyone else sees it, switch DNS and watch the results. This guide covers each step in three phases, before, during and after the move, with the exact settings and the official sources behind them. It assumes a plain host-to-host move where your domain and URLs stay the same, and it marks the extra steps you need if they change.
Key takeaways
- Take a full backup of files, databases and email before you touch anything, and keep a copy off the old server.
- Record every DNS record, MX and TXT records above all, so email keeps working after the switch.
- Lower your DNS TTL to a few hours at least a week before the move, as Google recommends, so resolvers pick up the change within hours.
- Test the new server with your hosts file before you change DNS. Visitors keep using the old server while you check.
- If your URLs stay the same, you need no redirects and no Search Console change of address. Keep the old host until its traffic reaches zero.
Which kind of migration are you doing?
Google's documentation splits site moves into two cases, and each needs different SEO work:
| Your move | Example | Redirects needed? | Search Console Change of Address? |
|---|---|---|---|
| New host, same URLs | example.com moves from host A to host B | No | No |
| New URLs on the same domain | /blog/post becomes /news/post | Yes, 301 for every changed URL | No |
| HTTP to HTTPS, or www to non-www | http://example.com to https://example.com | Yes | No |
| New domain | example.com to example.net | Yes, 301 for every URL | Yes |
For a hosting change alone, Google's site move without URL changes guide has four stages. You prepare the new hosting, start the move, monitor traffic, and shut down the old servers. The checklist below follows the same order and adds hosting details that guide leaves out, such as email and SSL.
Phase 1: Before the move
1. Take a full backup
Back up your website files, every database, and your email. For a WordPress site, the WordPress migration guide says to back up the WordPress directory, images, plugins and the database before you move.
On cPanel hosting, the Backup tool can create a full backup, or partial backups of the home directory, databases, email forwarders and email filters. One detail surprises people. The cPanel Backup documentation says you "cannot automatically restore a full backup file in cPanel. This function is only available in WHM." So either the new host restores a full backup for you, or you restore the partial backups yourself.
Download the backup to your own computer or cloud storage. If the only copy sits on the server you're leaving, you don't have a backup.
2. Make an inventory of DNS records and email
Log in to the place that manages your DNS, which may be your registrar, your current host or a DNS provider, and write down every record. You can also see the public records with a DNS lookup. These records matter most in a move:
| Record | What it does | What usually happens in a move |
|---|---|---|
| A / AAAA | Points the domain to the web server's IP | Changes to the new server's IP |
| CNAME | Aliases one name to another (often www) | Usually stays the same |
| MX | Says which server receives your email | Changes only if email moves too |
| TXT | SPF, DKIM, domain verification | Copy exactly; update SPF/DKIM if mail moves |
| NS | Which nameservers answer for the domain | Changes only if you move DNS hosting |
Mail servers use the DNS Mail eXchanger mechanism, the MX record, to find where to deliver your email (RFC 5321). Miss one and email stops arriving without any warning.
For email, also list every mailbox, forwarder and autoresponder. Decide now whether email moves to the new host or stays where it is. If you're not sure how nameservers fit in, read what nameservers are first.
3. Lower the TTL at least a week in advance
Every DNS record has a TTL, short for time to live. RFC 1035 defines it as the time interval, in seconds, that a record "may be cached before it should be discarded". If your A record has a TTL of 86,400 seconds (one day), resolvers that cached it can keep sending visitors to the old server for up to a day after you change it.
Google gives a specific instruction: "Lower the TTL to a conservative low value (for example, a few hours) at least a week in advance of the move to refresh DNS caches faster" (Google Search Central). You need the week because caches must drop the old, long TTL before the new short one applies.
Some DNS providers let you go lower. Cloudflare, for example, has an Auto TTL of 300 seconds and a minimum of 60 seconds on non-Enterprise plans (Cloudflare docs). Lower the TTL on the A, AAAA and MX records you plan to change.
4. Record your SEO baseline
Before anything changes, export the numbers you'll compare against later. That means a list of your URLs, for which your XML sitemap is a good start, your top pages, and current traffic from Google Search Console and your analytics. Google also recommends copying your Search Console verification to the new server, whether it's an HTML file, a meta tag or an analytics tag.
Phase 2: The move
5. Copy files and databases
Copy the site files to the new server, create the database and database user, and import your database export. Use the same PHP version as on the old host so nothing breaks on day one.
For WordPress, if the database name, user or password changed, put the new values in wp-config.php (WordPress migration guide). If the domain or URL changes too, don't run a raw find-and-replace on the database. WordPress warns this "can cause issues with data serialization". Use a tool that handles serialized data, such as WP-CLI:
# WP-CLI, run in the WordPress folder on the new server
wp search-replace 'old-domain.com' 'new-domain.com' --skip-columns=guid
The --skip-columns=guid flag follows WordPress's advice never to change the GUID column. If you move WordPress to a new server and keep the same domain, you don't need a search-replace at all.
6. Test on the new server with your hosts file
Many checklists skip this step, and it's the one that prevents downtime. Your computer reads its local hosts file before it asks DNS, so you can point your own machine, and nobody else's, at the new server. Microsoft's docs describe this use: the hosts file lets you "see how it will look on the new server" while you migrate to a new host (Microsoft Learn).
Add a line with the new server's IP followed by your domain. Use your real IP, since 203.0.113.10 is a documentation example:
203.0.113.10    example.com
203.0.113.10    www.example.com
On Windows, the file is in %WinDir%\System32\Drivers\Etc, normally C:\Windows\System32\drivers\etc\hosts. Open Notepad as administrator, then open the file from that folder (Microsoft Support). Microsoft's PowerToys Hosts File Editor does the same job with a form.
On macOS, Apple's instructions use Terminal (Apple Support):
# macOS Terminal
sudo nano /private/etc/hosts
Add your lines, press Control-O, then Enter to save, then Control-X to exit. Then flush your DNS cache so your Mac uses the new entries.
Now browse the site. Check that pages load, images show, forms send, logins and checkout work, and no database connection errors appear. Remove the hosts lines when you finish. If you leave them, you'll keep seeing the new server after you go live and miss problems that visitors see.
7. Prepare SSL on the new server
HTTPS should work the moment visitors arrive. If your new host issues certificates from Let's Encrypt, find out which validation method it uses. With the HTTP-01 method, Let's Encrypt checks a file at http://<YOUR_DOMAIN>/.well-known/acme-challenge/ on port 80 (Let's Encrypt), so validation succeeds only after the domain points to the new server. The DNS-01 method uses a TXT record instead and can issue a certificate before the switch. If your new host uses HTTP-01, plan to check HTTPS right after the DNS change.
8. Switch DNS
When testing passes, update the A and AAAA records to the new server's IP, or change nameservers if you're moving DNS hosting too. Before you switch, remove any noindex tags or robots.txt blocks you used on the new server during testing. Google lists this as a step to take before you update DNS.
Since you lowered the TTL a week ago, cached copies of the old record expire within a few hours. Cloudflare notes that a local DNS cache "may take longer to update", so expect a short overlap where both servers get traffic.
9. Cut over email
If email is moving too:
- Create every mailbox and forwarder on the new host, with the same addresses.
- Change the MX records, plus the SPF and DKIM TXT records, to the new host's values.
- Keep the old mailboxes open for a few days. During the overlap some senders still deliver to the old server, so check it and move any stray messages.
- If you need old messages on the new server, copy them across before you close the old mailboxes, then reconnect email apps with the new server settings. The guide to SMTP, IMAP and POP3 ports lists the standard ports.
If email stays where it is, copy the existing MX and TXT records exactly and leave them unchanged.
Phase 3: After the move
10. Check SEO safety
If your URLs didn't change, you have nothing to redirect. Google's guide for a hosting-only move asks for no redirects and no change of address. Your work is testing, DNS and monitoring.
If URLs did change, Google recommends "server side permanent redirects from the old URLs to the new URLs" (301 or 308), mapped one to one, and says to keep them "for as long as possible, generally at least 1 year" (site move with URL changes). Submit your new sitemap in Search Console.
Use the Change of Address tool only when the domain or subdomain changes, such as example.com to example.net. Google says not to use it for HTTP to HTTPS moves, www changes, path changes or moves with no URL change. You must own both properties in Search Console, and the tool's effect lasts 180 days.
11. Monitor for a week or two
- Check the site from a different network or your phone, without the hosts file edit.
- Watch Search Console's indexing and sitemap reports for errors or unexpected drops.
- Watch the server logs on both the old and new servers. Google notes crawl rate can fluctuate after a move "because we determine crawl rate for a site based on many signals, and these signals change".
- Test forms, checkout and outgoing email once more on the live site.
- Once the site is stable, raise the TTL back to its normal value.
12. Cancel the old host only when traffic reaches zero
Google puts it in one sentence: "Once the traffic to the old provider reaches zero, you can shut down your old hosting infrastructure." Check the old server's access logs and old mailboxes before you cancel. Download anything you may still need, such as old email or logs, because the old host may delete an account's files and mail when you cancel it.
If the old host also holds your domain registration, cancel the hosting only and keep the domain. For a refresher on the difference, see domain vs web hosting.
Website migration checklist at a glance
| Phase | Task | Done when |
|---|---|---|
| Before | Full backup, stored off-server | Files, databases and email downloaded |
| Before | DNS and email inventory | Every record and mailbox listed |
| Before | Lower TTL | At least a week before the switch |
| Before | SEO baseline | URL list and traffic exported |
| Move | Copy files and databases | Site runs on the new server |
| Move | Hosts-file test | Pages, forms and logins work |
| Move | SSL ready | Validation method known |
| Move | Switch DNS | A/AAAA (or NS) updated, noindex removed |
| Move | Email cutover | MX/SPF/DKIM updated, old mailboxes checked |
| After | SEO checks | Redirects and change of address only if URLs or domain changed |
| After | Monitor | No errors in Search Console or logs |
| After | Cancel old host | Old server traffic is zero |
If something goes wrong
- Some visitors still see the old site. Their resolvers have the old record cached. Wait out the old TTL, and flush DNS on your own devices.
- You see "Error establishing a database connection". The database name, user, password or host in your config file doesn't match the new server.
- The browser shows a certificate warning. The host hasn't issued the certificate yet, often because HTTP-01 validation needed the DNS change first. Run issuance again now that DNS points to the new server.
- Email stopped arriving. Compare the live MX records with your inventory, and check the old mailbox for mail delivered during the overlap.
- Rankings dropped after a URL change. Look for missing or chained redirects, and make sure
robots.txtornoindexdoesn't block the new URLs.
Moving to WaseerHost
WaseerHost offers free website migration for sites moving in. Every plan uses cPanel and includes free SSL certificates, so the checklist above works on the new account as written. See current shared hosting plans.
Frequently asked questions
Back up your files, databases and email, record your DNS records and lower the TTL a week early. Then copy the site, test it with your hosts file, prepare SSL, switch DNS and move email. Finish by monitoring traffic, and cancel the old host only once it gets no traffic.

Written by
Web & AI Systems Lead
Web and AI Systems Lead at Wasevo, the company behind WaseerHost. He builds web applications and AI systems.